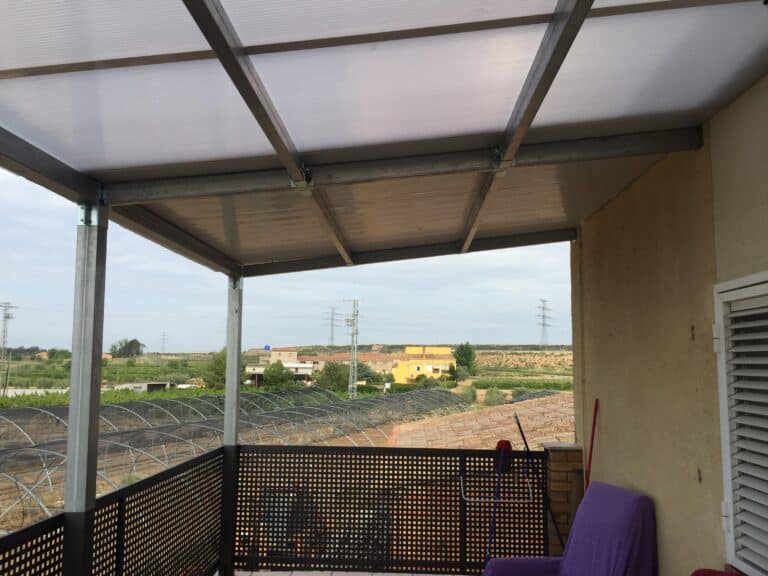

An iron pergola can be put up without welding if the joints between posts and beams are made with bolted connectors. With square galvanised steel tube, connectors and bolts, a 3×3 m freestanding pergola goes together with basic tools and needs no painting afterwards. Here is what you need and how to build it step by step.
Iron, steel or galvanised steel
When people say “iron pergola” they almost always mean steel. What matters is the protection: untreated steel tube rusts outdoors and must be painted and maintained, while galvanised tube has a zinc coating that protects it from corrosion. If the joints are also bolted, there are no welds to burn off that coating.
Materials for a 3×3 m freestanding pergola
A freestanding four-post pergola needs:
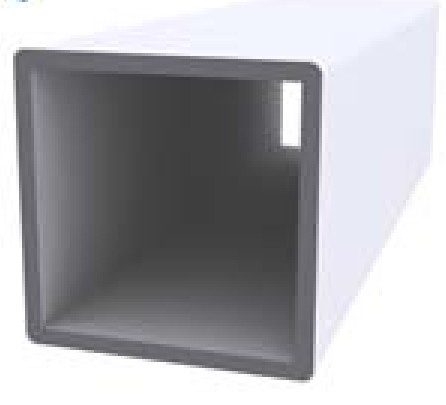
- 4 posts in square galvanised tube.
- 4 perimeter beams joining the posts at the top.
- Purlins or slats in between for shade or to carry a roof.
- 4 corner connectors for the post tops and T connectors for each purlin.
- 4 base plates with their anchors.
- The bolts for the connectors.
For this size, use 5×5 cm or 10×10 cm tube depending on the roof and your area. The shop has 3×3 m kits with prices: connectors, bolts and, if you want, the tube cut to size.
Step by step
1. Choose the spot and the base
The pergola needs a firm base: a concrete slab or pads under each post. Check that the ground is level or plan how to make up the difference.
2. Set out the posts
Mark the position of the four posts and measure both diagonals: if they are equal, the layout is square.
3. Anchor the base plates
Fix the plates to the ground with anchors that suit the base. This is the point that takes the most wind load, so do not improvise.
4. Stand the posts
Bolt the posts to the plates and plumb them on two faces with the level.
5. Fit the beams
Fit the corner connectors on the post tops and slot in the beams. If the pergola will have a roof, give the beams the pitch the roofing needs.
6. Add the purlins
Fit the purlins with T connectors at the spacing you need for shade or roofing.
7. Tighten and check
Check levels and diagonals one last time and tighten all the bolts.
Covered or open?
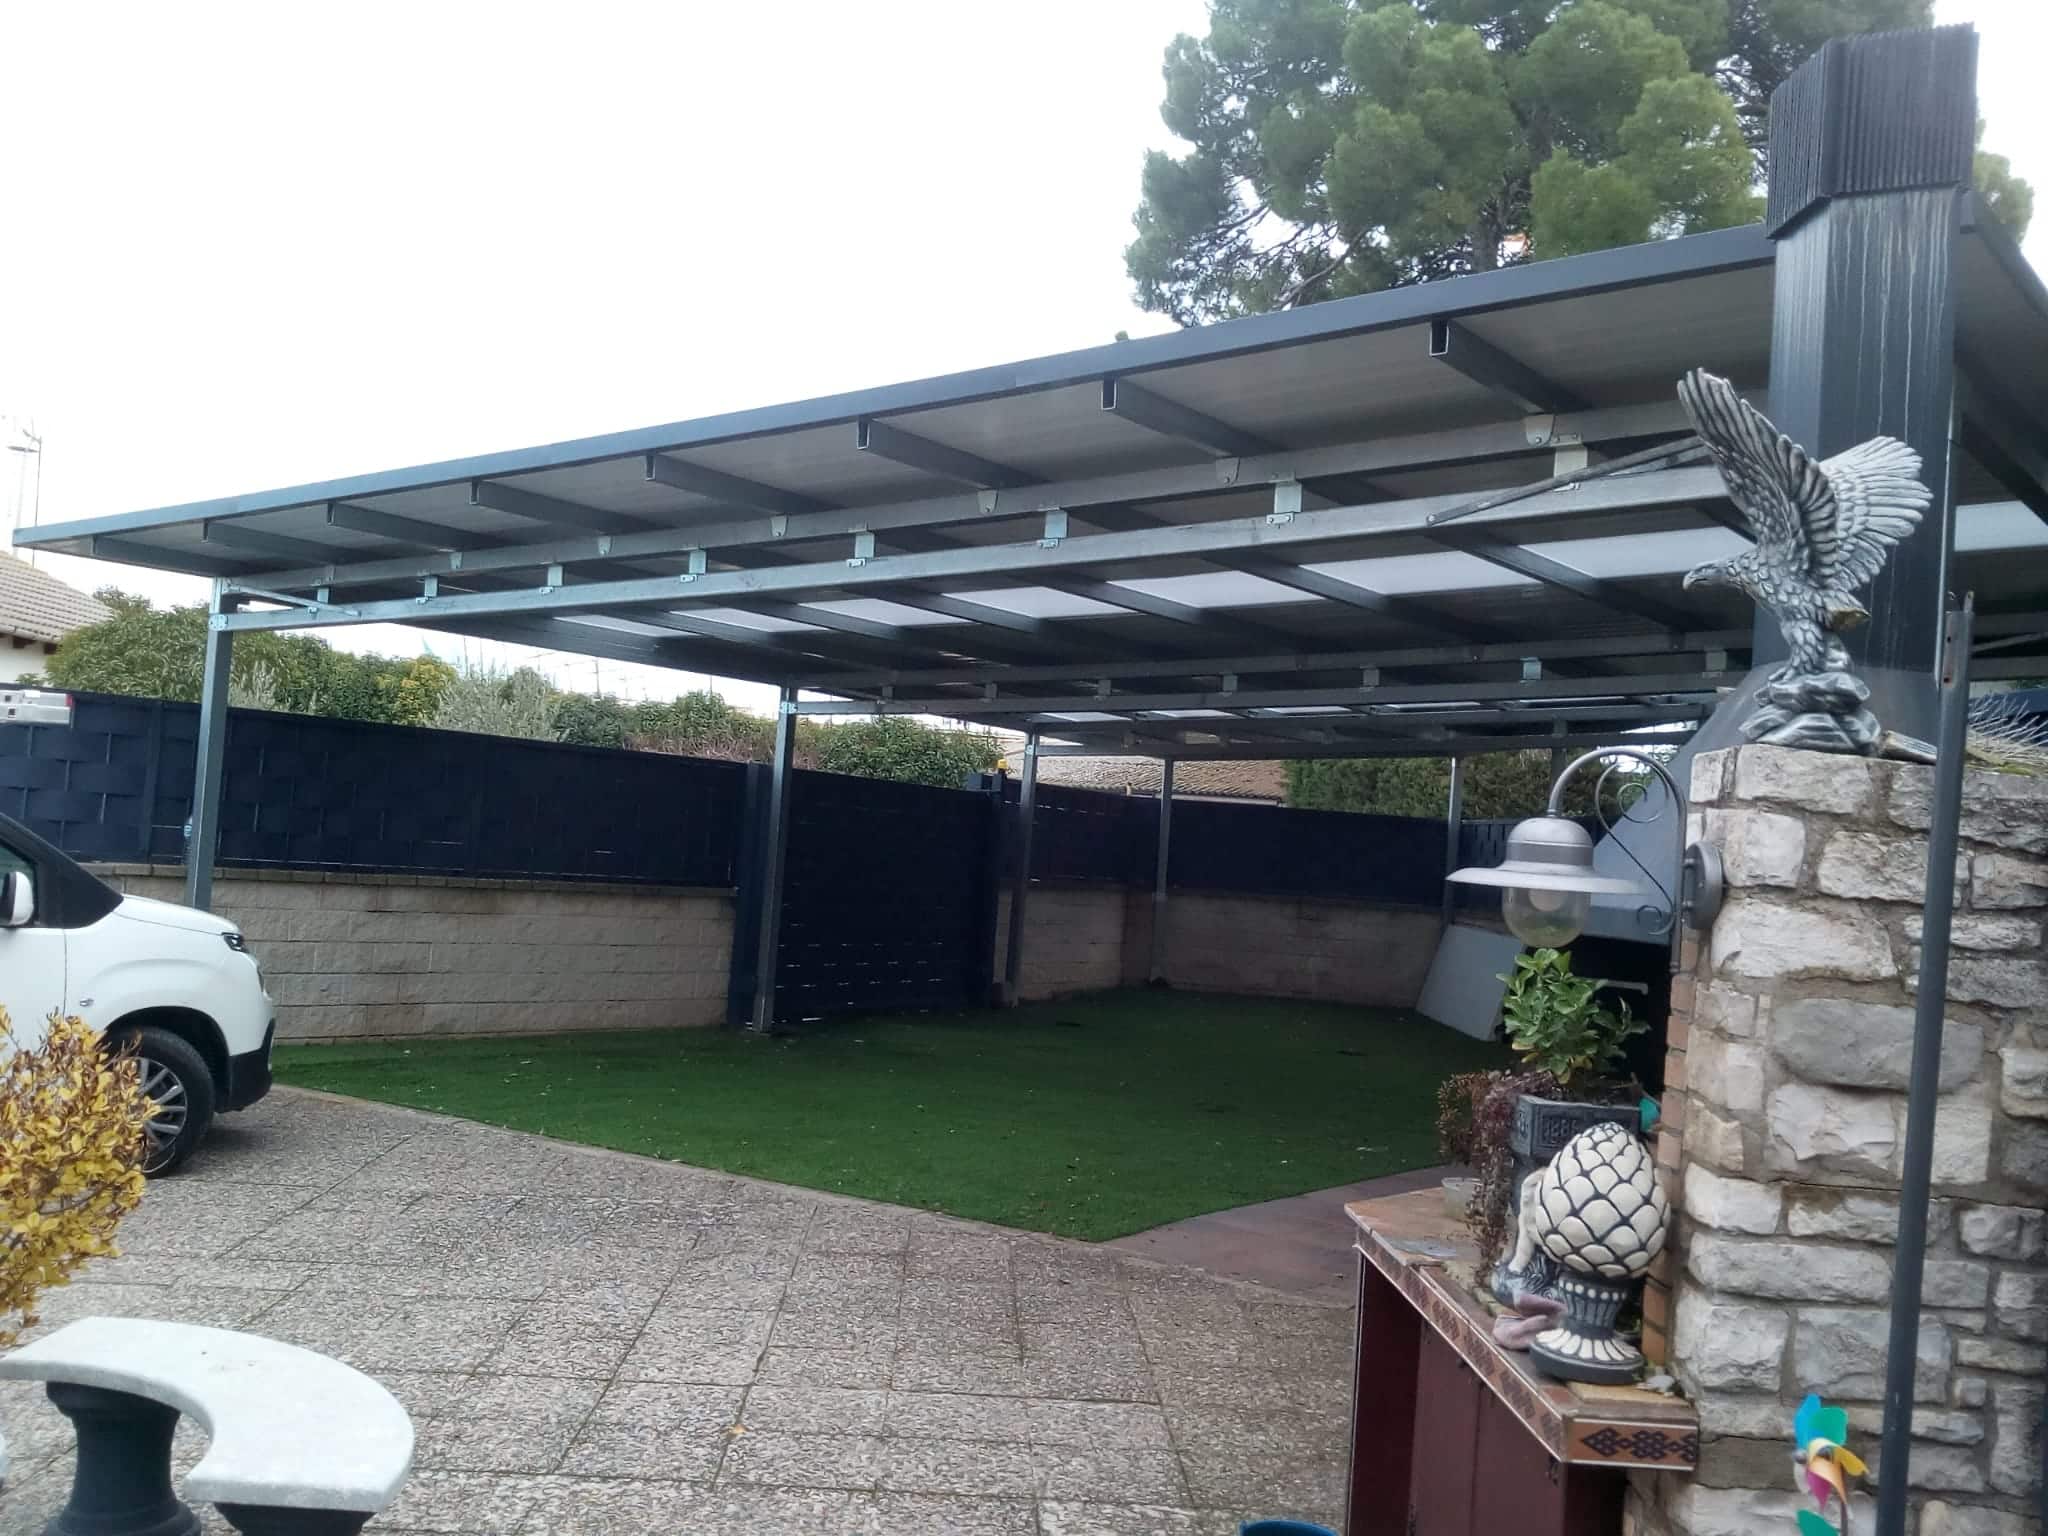
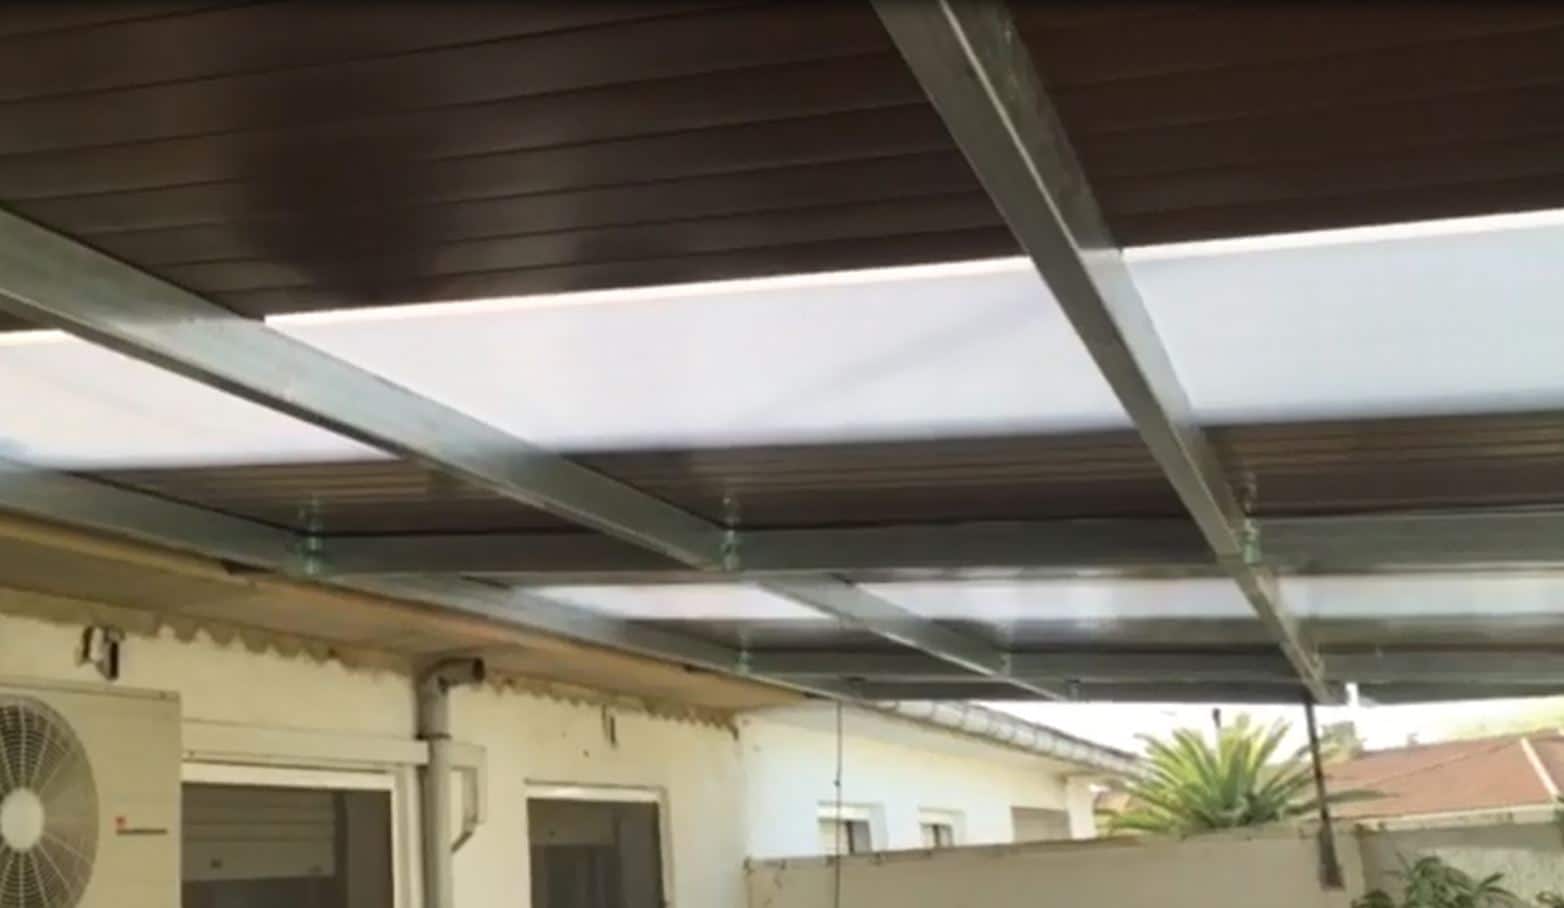
An open pergola has only beams and purlins, and you can add a sail, reed screening or slats. If you want shelter from the rain it becomes a porch: it needs a pitch, a sandwich panel, metal sheet or polycarbonate roof and a frame sized for its weight. We explain it in how to build a steel roof structure without welding.
Common mistakes
- Using ungalvanised tube and leaving it unprotected.
- Standing the posts on tiles or soil without a firm base.
- Leaving the pergola without bracing in windy areas.
- Adding a heavy roof to a pergola designed only for shade.
Do you need permission?
It depends on your local council. We summarise it in regulations and permits for installing a metal pergola.
Design your pergola in 3D
In the 3D configurator you enter the size, choose whether it has a roof and see the frame straight away with a guide price. If you would rather we prepare it to measure, see metal pergolas and porches.
FAQ
Can you build an iron pergola without welding?
Yes. With bolted connectors for square tube, posts and beams are joined with fittings and bolts, with no welding.
What tube should I use for a 3×3 m pergola?
Square galvanised tube, 5×5 cm or 10×10 cm, depending on the roof and the wind and snow in your area.
Does a galvanised tube pergola need painting?
No: the galvanising protects it and, with no welds, there are no bare spots.
How long does it take to put up?
It depends on the size, the base and who builds it. With the material cut and the drawings, assembly comes down to anchoring, slotting together and bolting.